
Binding children's drawings with Japanese binding
When the JAMU picture frame reaches its capacity of over 100 pictures, there's a wonderful way to preserve your children's artwork: Japanese binding. In this blog post, we'll show you how to easily bind your child's drawings into a book using this traditional technique – a creative and practical solution when the frame is full.

The JAMU picture frame is perfect for stylishly storing and displaying children's drawings. But what happens when the frame is full after more than 100 drawings? Of course, you could simply buy another JAMU frame, but there's an equally creative and sustainable alternative: Japanese binding. With this simple technique, you can bind your child's most beautiful drawings into a book, creating a lasting keepsake.
What is the Japan ties?
Japanese binding is a traditional method for binding sheets of paper into a book. It's ideal for organizing loose sheets, such as children's drawings, and transforming them into a handmade art book. This technique is simple yet effective, and you only need a few materials to create your own book.
Here's how: Binding children's drawings using the Japanese binding method
Once the JAMU frame is full, you can compile the drawings into a book at the end of the year. Here's how:
Sorting drawings: It's best to arrange the children's drawings you want to bind chronologically so you get a nice overview of the year.
Prepare materials
For the Japan binding you will need:
- Hole punch or a hole punch
- Thread (e.g. cotton or leather thread)
- needle
- Cardboard or thick paper for the cover
- Ruler and pencil for measuring the holes
Punch holes : Using a hole punch or hole punch tool, punch holes along the edge of the drawings (1.5 cm apart). The number of holes can vary, but 5 to 7 holes are ideal for a secure binding.
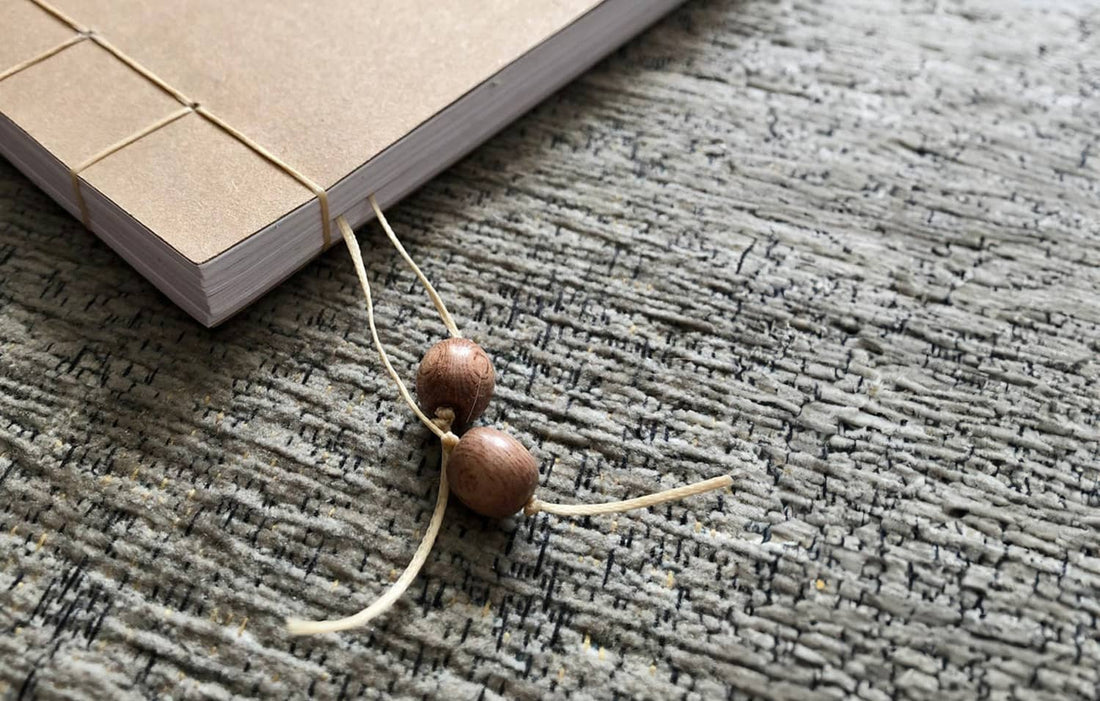
Threading: The following image shows how the binding principle works – the example only shows 3 holes for clarity, but the principle remains the same regardless of how many holes you use. Start in the middle of the pages and thread the yarn through the first hole (No. 1). Now thread the yarn through all the holes as shown until the book is bound.

Knot the ends: Finally, tie the two ends of the thread together inside the book and trim any excess thread. Your memory book is now finished!
Designing the cover: As a final step, you can design a personalized cover for your bound book. Use thick cardstock or colorful paper and decorate it with your child's name and the year the artwork was collected.

Annual tradition – sorting drawings
We recommend binding the drawings into a book each year. This way, you'll create a collection over the years that documents your child's creative growth. Japanese binding ensures that all the artwork is stored neatly and beautifully for the long term – a lasting memory for the whole family.
The Japan binding is a wonderful way to preserve children's drawings once the JAMU picture frame is full. Easy to create and customizable, it allows you to stylishly organize and preserve your child's creative works year after year.